Python实现PS滤镜的旋转模糊功能示例
发布于 2018-02-20 03:23:37 | 158 次阅读 | 评论: 0 | 来源: 网友投递
Python编程语言
Python 是一种面向对象、解释型计算机程序设计语言,由Guido van Rossum于1989年底发明,第一个公开发行版发行于1991年。Python语法简洁而清晰,具有丰富和强大的类库。它常被昵称为胶水语言,它能够把用其他语言制作的各种模块(尤其是C/C++)很轻松地联结在一起。
这篇文章主要介绍了Python实现PS滤镜的旋转模糊功能,涉及Python基于skimage库针对图片进行旋转与模糊化处理的相关操作技巧,需要的朋友可以参考下
本文实例讲述了Python实现PS滤镜的旋转模糊功能。分享给大家供大家参考,具体如下:
这里用 Python 实现 PS 滤镜中的旋转模糊,具体的算法原理和效果可以参考附录相关介绍。Python代码如下:
from skimage import img_as_float
import matplotlib.pyplot as plt
from skimage import io
import numpy as np
import numpy.matlib
file_name='D:/Visual Effects/PS Algorithm/4.jpg'
img=io.imread(file_name)
img = img_as_float(img)
img_out = img.copy()
row, col, channel = img.shape
xx = np.arange (col)
yy = np.arange (row)
x_mask = numpy.matlib.repmat (xx, row, 1)
y_mask = numpy.matlib.repmat (yy, col, 1)
y_mask = np.transpose(y_mask)
center_y = (row -1) / 2.0
center_x = (col -1) / 2.0
R = np.sqrt((x_mask - center_x) **2 + (y_mask - center_y) ** 2)
angle = np.arctan2(y_mask - center_y , x_mask - center_x)
Num = 20
arr = ( np.arange(Num) + 1 ) / 100.0
for i in range (row):
  for j in range (col):
    T_angle = angle[i, j] + arr
    new_x = R[i, j] * np.cos(T_angle) + center_x
    new_y = R[i, j] * np.sin(T_angle) + center_y
    int_x = new_x.astype(int)
    int_y = new_y.astype(int)
    int_x[int_x > col-1] = col - 1
    int_x[int_x < 0] = 0
    int_y[int_y < 0] = 0
    int_y[int_y > row -1] = row -1
    img_out[i,j,0] = img[int_y, int_x, 0].sum()/Num
    img_out[i,j,1] = img[int_y, int_x, 1].sum()/Num
    img_out[i,j,2] = img[int_y, int_x, 2].sum()/Num
plt.figure(1)
plt.imshow(img)
plt.axis('off')
plt.figure(2)
plt.imshow(img_out)
plt.axis('off')
plt.show()
附:PS 滤镜——旋转模糊
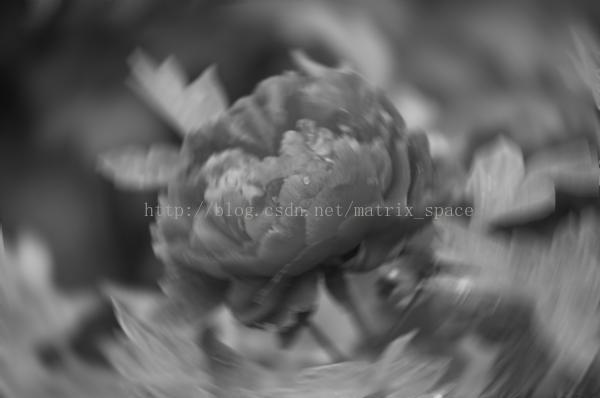
这里给出灰度图像的模糊算法,彩色图像只要分别对三个通道做模糊即可。
%% spin blur
% 旋转模糊
clc;
clear all;
close all;
I=imread('4.jpg');
I=double(I);
% % % I_new=I;
% % % for kk=1:3
% % %   I_new(:,:,kk)=Spin_blur_Fun(I(:,:,kk), 30, 30);
% % % end
% % % imshow(I_new/255)
Image=I;
Image=0.2989 * I(:,:,1) + 0.5870 * I(:,:,2) + 0.1140 * I(:,:,3);
[row, col]=size(Image);
Image_new=Image;
Center_X=(col+1)/2;
Center_Y=(row+1)/2;
validPoint=1;
angle=5;
radian=angle*pi/180;
radian2=radian*radian;
Num=30;
Num2=Num*Num;
for i=1:row
  for j=1:col
    validPoint=1;
    x0=j-Center_X;
    y0=Center_Y-i;
    x1=x0;
    y1=y0;
    Sum_Pixel=Image(i,j);
    for k=1:Num
      x0=x1;
      y0=y1;
      %%% 逆时针
      % x1=x0-radian*y0/Num-radian2*x0/Num2;
      % y1=y0+radian*x0/Num-radian2*y0/Num2;
      %%% 顺时针
      x1=x0+radian*y0/Num-radian2*x0/Num2;
      y1=y0-radian*x0/Num-radian2*y0/Num2;
      x=floor(x1+Center_X);
      y=floor(Center_Y-y1);
      if(x>1 && x<col && y>1 && y<row)
        validPoint=validPoint+1;
        Sum_Pixel=Sum_Pixel+Image(y,x);
      end
    end
    Image_new(i,j)=Sum_Pixel/validPoint;
  end
end
 imshow(Image_new/255);
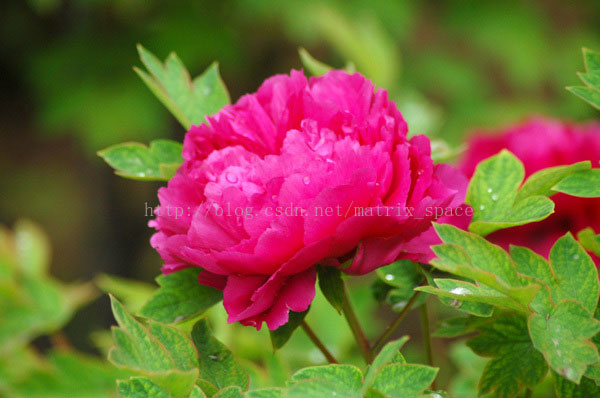
原图
效果图
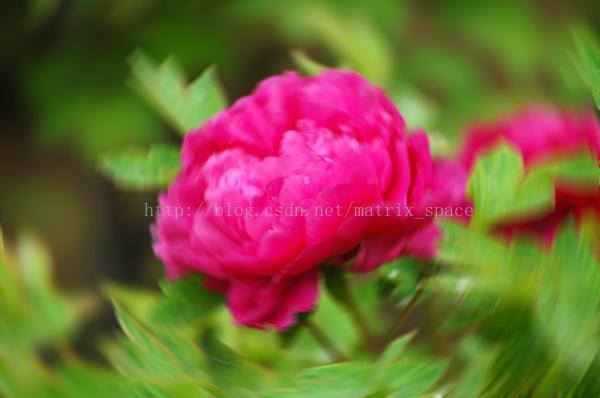
效果图
希望本文所述对大家Python程序设计有所帮助。
您可能感兴趣的文章:
推荐阅读
最新资讯